Showing posts with label Designer Rental. Show all posts

Sunday, September 25, 2011

Making Changes

Lately I've got the decorating bug again and I've been re-doing rooms in our house by changing and mixing up accessories. I'd of course love all new everything, but having just paid for a wedding (!!!), that's not happening any time soon!

So, I got a cool new print on canvas for our living room from World Market and I love all of the colors and the eclectic design. It has the red-orange and olive green of our existing sofa and drapes, but also varying shades of blue, green, red and even teal (one of the colors that I've been wanting to introduce into our home for a long time!).

Momentary Canvas by World Market
I'm thinking I may frame it in a cool, rustic wood frame down the road, but for now it's hangin' naked above our sofa!
 
Next I'm starting to hunt for cool accent pillows to tie the sofa, drapes and new frames (stay tuned for a glimpse of these soon) all together.

Z Gallerie has a bunch that are totally gorgeous and along the lines of what I'm looking for. Here are a few of my faves:


I'll keep you posted as I get more done so you can see how everything comes together.

Wednesday, January 5, 2011

Entry Update

Okay I know I've been a bit MIA, but I have good reason, we've been busy with wedding planning things. More to come on that soon.

In the mean time, I'm sure you'd like to see what I decided to do with our little entry dilemma that I wrote about a few weeks ago. It isn't 100% finished (but then again is anything ever really done?), but it is a vast improvement from where I started.

Before
The space is small and narrow because it's right next to our back door and in our kitchen/breakfast nook, so I needed to find an entry table that wouldn't stick out too far. We also needed to keep Zeus' bowls in this area as there isn't another place in our small home to keep them. 
 After weeks of searching, I decided that I wasn't going to find a console that was narrow enough, short enough and would allow for the dog bowls to sit underneath, so I decided to hang a floating shelf above the wicker drawers that I already had there. This gave me a place for cookbooks and candles and a bowl to set keys and the mail. 
After
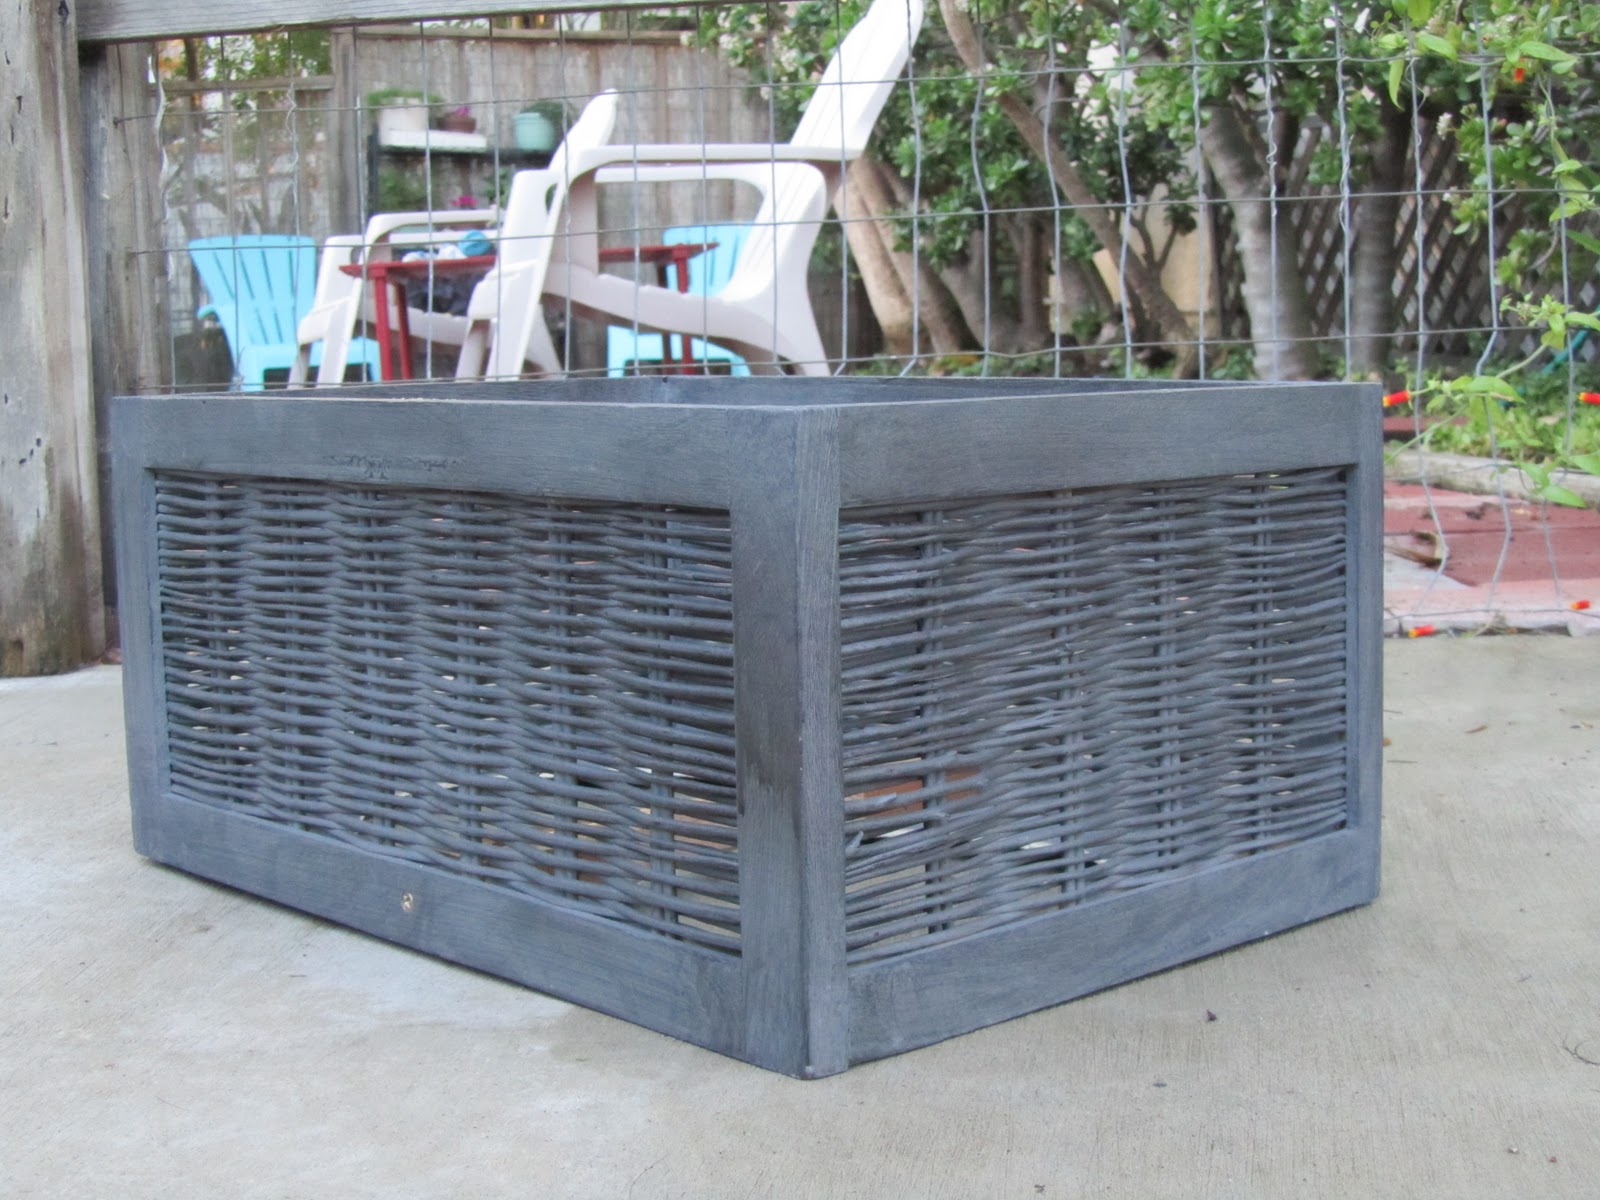
As for Zeus' bowls, I hated the way they looked in that wire holder, and so I found a basket with a plywood bottom, cut two holes in it and spray painted it green. The bowls sit down into the basket and are now a little more of a decorative item rather than just ugly-old dog bowls.
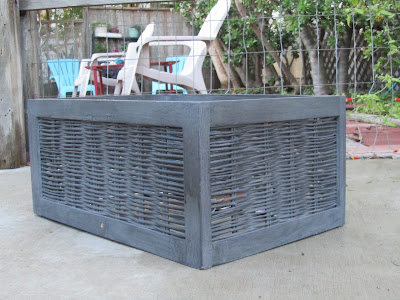
Basket Before - ($7.99 at Ross)
Nifty New Dog Bowl Holder After 
Lastly, I got a glass, orb terrarium (been eying them for a long time and got one for Christmas this year!) with some cool air plants and hung it in the corner above the shelf. I think it was the perfect finishing touch and added a natural, living element to the space.
I'd like to paint the walls or add a painted wallpaper treatment to the kitchen walls eventually, but for now, I'm pretty happy with how this little project turned out!


Monday, December 6, 2010

Entry Dilemma

In small spaces it is so important that we utilize every inch as functional space rather than just decorative. I've learned this over the years in the various small spaces where I've lived.

Our current home is situated in such a way that the back door leading into the kitchen acts as the main door for the home. Because of that, I've been working on creating an inviting, stylish and functional entryway in this awkward little space. Here's a shot of the entry "before", right after we moved in; not-so-inviting!


I'm working on it though and think it's coming along nicely. I started the project the same way I would if I were designing for anyone else, with research. Take a look at some of the beautiful entries that I've found for inspiration.


Stay tuned for our soon to be finished entryway! I can only hope it turns out half as gorgeous as the ones above.

Monday, September 13, 2010

No Holey Walls Here!

One of the topics that I’ve been really interested in exploring further is how to make your rental feel more like a home. These days it seems harder and harder for people to purchase a home of their own. After the bubble burst and so many homes foreclosed, more people are finding themselves renting again. 

As someone who loves decorating, I often struggle with how much to actually do to my rental so that it isn’t too much to undo later. Most people avoid painting since they usually have to paint the walls back later, or risk being charged upon move out. Some lease agreements are also really strict about putting holes in the walls and hanging pictures.

I’ve gone both ways in my past rentals. I have painted the walls in places that I knew I’d be staying for a while, hung shelves and larger items that left relatively large holes which I had to patch later. How much to do is something you have to evaluate on a case-by-case basis and decide how much you are willing to take on.

After renting for so many years I've learned that you don’t have to sacrifice a designer home just because you don't own it.

Our current rental was built in the 50’s and the walls are pretty old. I’ve tried to limit how much we hang with nails and haven’t yet decided whether or not to paint (although I am leaning toward painting more and more – now to convince Kevin!).

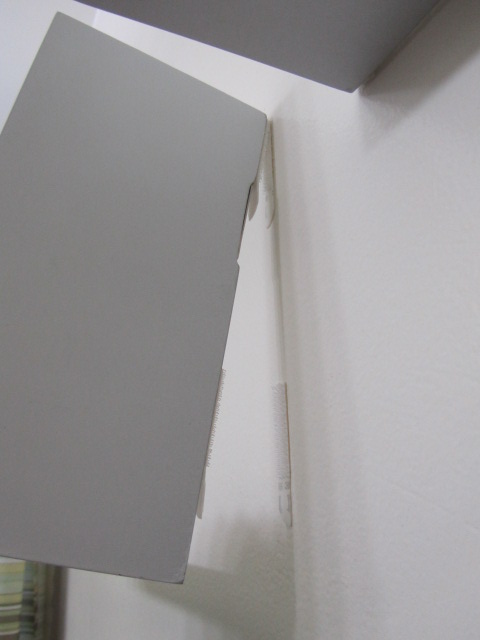
I recently found a new “tool” that I love which makes hanging things really easy and doesn’t damage the walls. For some of the smaller/lighter items, I used Command Strips by 3M. If you haven’t tried them yet, I would highly recommend you do. They are an inexpensive, clean, and super easy to use alternative to nails and a great way to achieve a designer look without damaging the walls.
Check out the 3M website for printable coupons.


Happy Hanging!


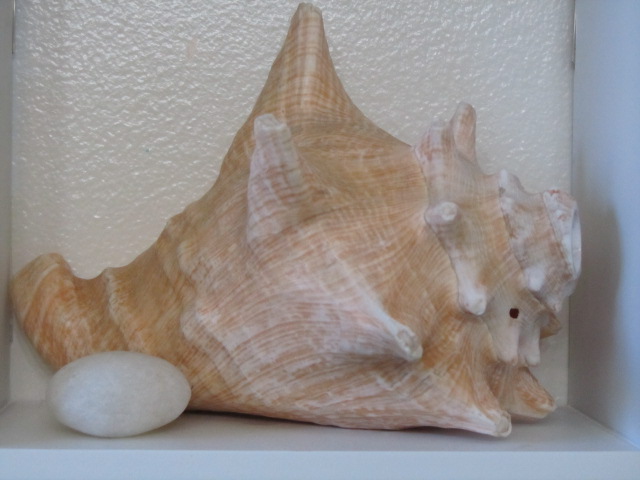
Below is one of my Command Strip projects in action. Simply follow the directions on the package and presto, a pretty bathroom wall vignette.